Importing
You can import through either the installer or the command line after install.
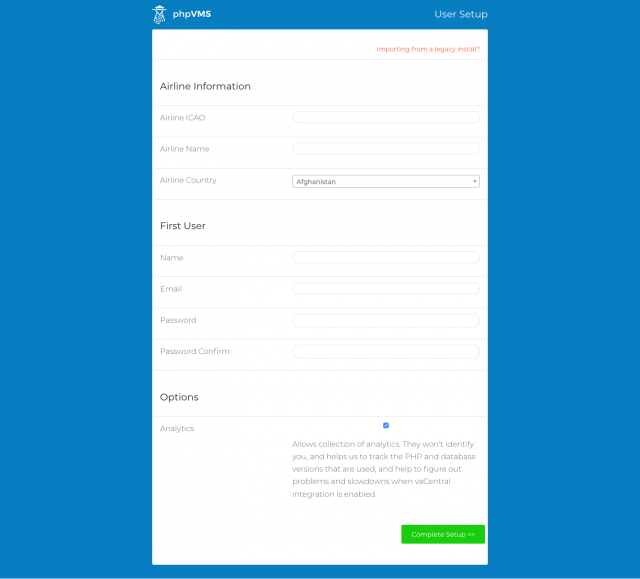
Installer
After completing the database configuration step, you'll be given the option to import
Command Line
The importer tool can also be run on the command line, via a PHP artisan command. Before running the importer, you should install phpVMS using the installer. Both the config.php and .env files will need to exist.
caution
This will erase all of your current data. If you've already installed, the importer plugin is disabled, and must be first enabled with php artisan module:enable Importer
cd /path/to/phpvms
php artisan phpvms:importer  {db_host} {db_name} {db_user} {db_pass?}
Where
db_host- The database host where your legacy phpVMS install isdb_name- The database username for your legacy phpVMS installdb_pass- Database password for your legacy phpVMS install.
Example:
php artisan phpvms:importer "localhost" "phpvms_legacy" "php_legacy_username" "phpvms_legacy_password"
Notes and caveats
Due to some changes with how some of the fundamentals have changed within the system, be aware of the following:
- Users will have to reset their passwords by using the 'forgot password' option on the sign-in page
- Column names don't entirely match up between the databases
- IDs will differ (numeric, or PIREP IDs will be converted to the new alphanumeric format)
- To ensure a correct import of finances, PIREPs must either be accepted or rejected in version 5 before launching the import, but they should not be left pending.
Post Import Notes
- Aircraft that are imported are all placed in a generic subfleet. You will need to go and either add additional subfleets, or just rename this subfleet to whatever you want
- All flights will be assigned to this subfleet. Unfortunately, you will need to re-assign the flights to be with the proper subfleet
- Ranks are now assigned subfleets they are allowed to fly. This is different from the old version, which operated on a linear progression for the aircraft that are allowable per-rank. You will need to edit the ranks and set the subfleets that are assigned to them.